[This is just a installation note.]
Video Capture
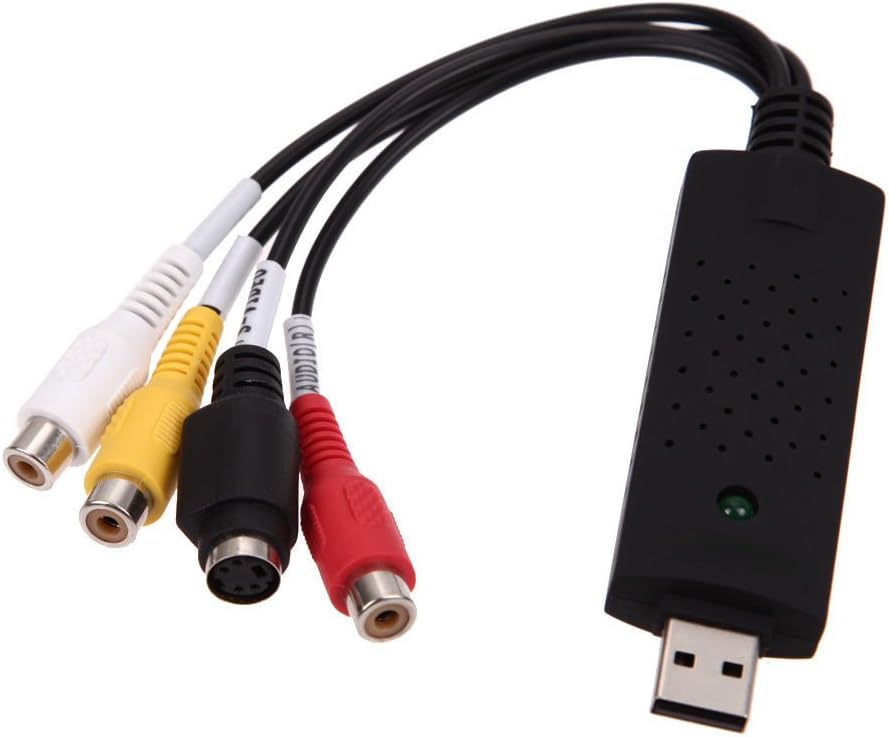
Product Page, https://www.amazon.com/gp/product/B01E5ITE2W/
It's only $11, USB2.0 video capture USB adapter. It's to transfer old videos, not high resolution video capture purpose.
No driver is needed. Use OBS Studio and it will be listed. Some helpful comments from the product review:
Works great with Ubuntu Studio Linux!
By
Kelly
on October 10, 2020
I purchased this device to archive some old VHS tapes using an S-VHS machine. I plugged it into my linux
box, and without any fanfare or problems, it just worked. VERY HAPPY!
It shows up as Video to USB adapter in OBS. Smooth frame rate, and
sharp image quality. If you have an S-VHS deck, use the S-Video input.
It gets rid of all the dot crawl and soft edges. Would recommend for
sure!
Works great under linux for digitizing old analog video tapes
By
Jacob D.
on November 20, 2017
There appear to be be a ton of variations on this same product,
but I opted for this particular one due to the great price and good
reviews. I bought this to digitize a bunch of old family videos on Sony
Hi8 tapes that were 30 years old and beginning to degrade and no longer
play. I was hoping to get digital versions of these old tapes before
they stopped playing completely, and this worked perfect for that.
My setup might be a little different than others since I'm running linux
(kubuntu) as my operating system, so I didn't try any of the included
drivers or software, but I'm happy to report that this functions
perfectly as a capture device under my linux
version with no additional configuration or driver compilation /
installation. I used VLC to preview via the inputs and capture to a
file, and after playing around with some different codecs, found some
settings that provided a good balance between file size and quality.
Physically,
it was simple to plug in and connect and disconnect everything between
capture sessions, the color-coded cable extensions make it a breeze to
connect the different wires. On my laptop, I had an easily accessible
usb port so it wasn't a problem to plug this in and have it stick out
the side. The capture device doesn't have too high of a resolution,
which isn't really necessary for the older analog sources, so it still
works great. I successfully tried both the s-video and yellow rca for
video, and didn't have any problem with the red/white rca audio inputs.
To sum up, this worked perfectly for my needs under linux, and it's an amazing value for the price!
Simple, cheap, and "good enough" for some capture projects
By
Jonathan Campbell
on November 11, 2019
Pros:
- Works flawlessly with Linux. Appears as UVC class device and ALSA audio capture device.
-
Audio and video capture works, comes in as 720x480 UYVY uncompressed at
full frame rate and should work with any video capture software using
Video4Linux2.
Cons:
- Appears to be deinterlacing the video where
there is motion in the frame, meaning fields are averaged together when
things move. If you're expecting to capture the full interlaced video
for full quality this might not be the ideal capture device for you. If
that's not a concern for you, go for it.
- As stated elsewhere, loses track of color subcarrier when given video with Macrovision.
-
If you start capture with no signal, then turn on the VCR and start
playing, the captured video will be very bright until you close the
capture program and reopen it again. Workaround is to turn on the VCR
and give it a signal, then open the capture program and start capturing.

